The garden around our church looked neat enough to us when we bought the place, but we are slowly noticing minor signs of the five years of… well, not neglect exactly, but perhaps a lack of attentive care. This was particularly evident in the case of the contorted hazelnut tree in the front yard.
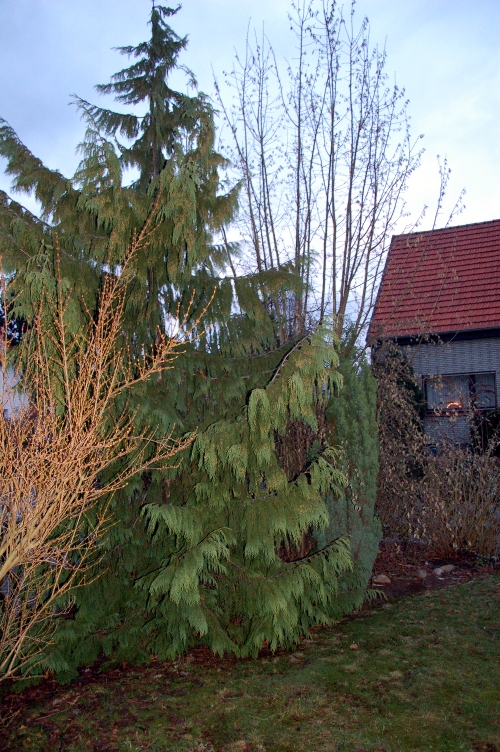
A picture of the hazelnut from our first viewing of the property. The contorted part peeks out from behind the conifer, on the right. The straight vertical branches at the top of the picture? Those aren't supposed to be there.
I didn’t notice the problem at first. Of course, one can see the curly branches and twigs of the contorted filbert when you stand on the lawn, but the filbert’s branches are dense and brillo-pad like, and obscure the trunk. Until I got a good look, I thought the tall branches belonged to a different tree, one growing behind the filbert.
Contorted filberts sometimes produce nuts themselves, but they’re not always viable, and even if they are, they tend to produce normal straight-branched hazel trees. Contorted filberts are propagated by cuttings which are grafted onto common hazel rootstock. The rootstock has a tendency of sprouting branches from its base in the early spring. These need to be removed to keep the tree focused on growing a vital and vigorous curly moptop. Obviously, this trimming task was not done for some time.
We obtained a small saw, and I set about cutting off these branches by hand. This was a lot of work: I needed about four afternoons to get all of the branches off. The fattest branches were rather fatter than my rather chubby forearm. They were also about 4 meters tall. We didn’t have a ladder yet, and there was no way to stand it near the tree in any case. I threaded myself between the branches of the contorted filbert, and got to work. The filbert kept sticking it’s curly fingers into my bun or ponytail, and after a while the tree would get quite entangled in my ‘do.
Benefit #1: Hazelnut sap smells heavenly and so will you.
Hazel sap and wood has a bitter green herbal aroma with a fresh hazelnut undertone. The sap gets on you and in your hair and is hard to wash off. For days after a bout in the garden with the tree, I smelled faintly as if wearing Méchant Loup.
Benefit #2: Make your new neighbor happy.
One afternoon while I was fighting the tree, the neighbor pulled up into his driveway. At that particular moment, I was well tangled up in the tree, hair and all, and swearing profusely at one of the thicker branches. I suspended the blue streak when I noticed him, and sheepishly sent a “Guten Tag!” in his direction. We hadn’t met yet, and now chatted briefly. The neighbor mentioned that he was glad the tree was finally being trimmed, since it was obscuring his view from the driveway. Good relations are important.
Benefit #3: Hazelnut wood is excellent for smoking.
We wound up with quite a lot of wood through my efforts. The bases of the branches mostly showed 5 rings, so this was really the result of five years worth of growth. We put most of the branches through a chipper (save the very thickest bits), and now we have probably 10 years worth of smoking wood.
I close with a step-by-step recipe from my first smoking project. This recipe is loosely based on this recipe. “Loosely based” means I read that recipe (which does look quite good), but did my own thing, as below.
Hazelnut-smoked Cured Goose Breast
Ingredients
2 goose breasts
150g white sugar
300g sea salt
mace
voantsy wild pepper (or a mix of black and white pepper)
juniper berries
cloves
bay leaf
fresh thyme sprigs
coriander seeds
ginger powder
mugwort (=Beifuß. Or use a dash of chervil or tarragon and a dash of sage)
Method
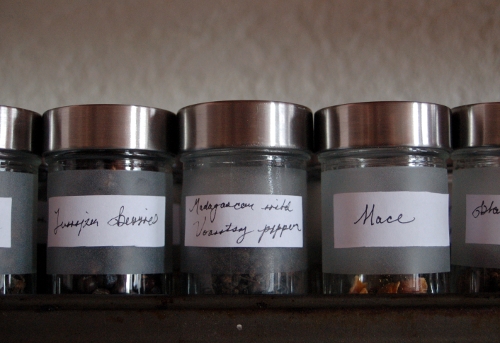
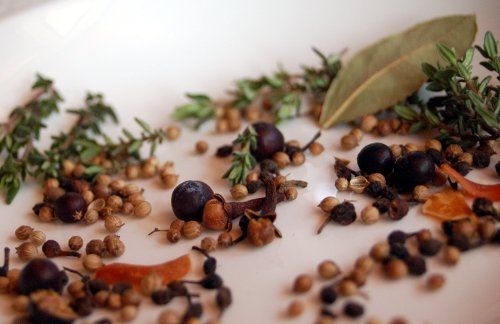
First, collect your spices. I’m not putting in amounts, since I think this is a matter of taste. Just add some and use your nose to balance. I got fancy and decided to use a special wild pepper I found in Paris, but the recipe doesn’t hang on this -use a mixture of black and white peppers in a 2:1 ratio instead if the rare pepper isn’t available.
From other sources on the web, it seems that the thyme should be fresh since the fresh leaves have some antibacterial properties that help with keeping the curing process safe.
Grind the spices that need grinding, and blend them together with the salt and sugar. Set aside
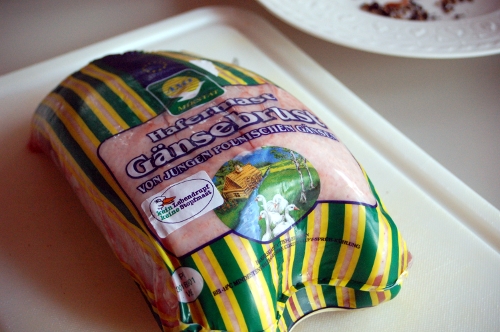
Now, prepare your goose breast. I couldn’t find fresh around here (I suppose it isn’t really goose season right now), so I bought a whole frozen one.
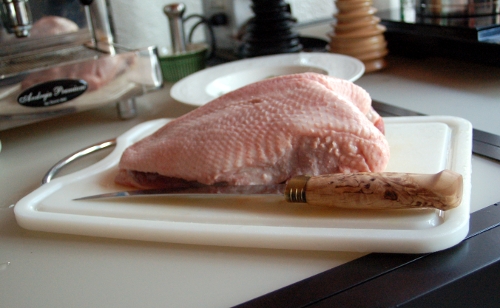
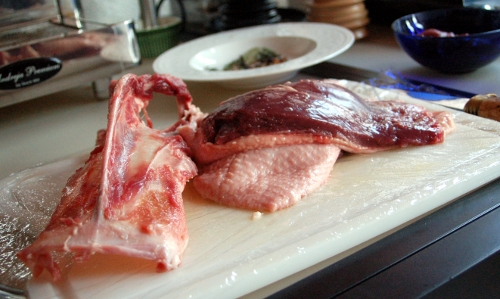
Wash and carefully dry the breasts. Because mine was whole and bone-in, I had to do a little butchering with a filet knife.
The bone gets wrapped for the stock-bone collection in the freezer, and I’m left with two breast filets.
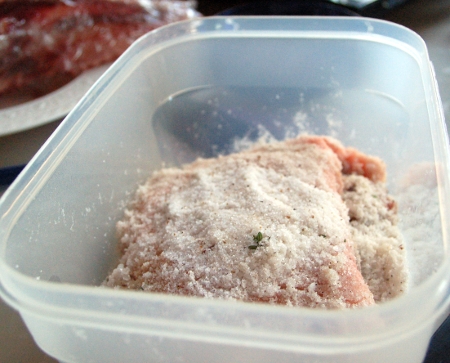
Combine the breasts with the spice-salt mixture in a plastic or glass container. Make sure all surfaces of the breasts are covered in salt.
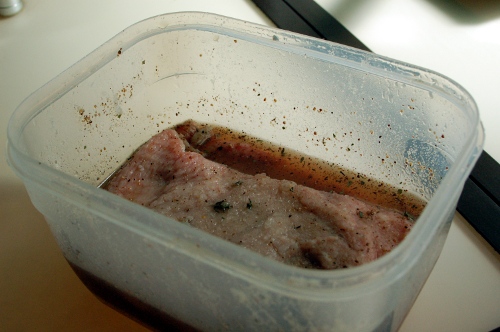
Cover the breasts, and put them in the refrigerator for three days. Move them and flip them each day to make sure they’re always covered in salt. On the third day, the breasts will be in a strong sludgy brine, and the meat will have changed color.
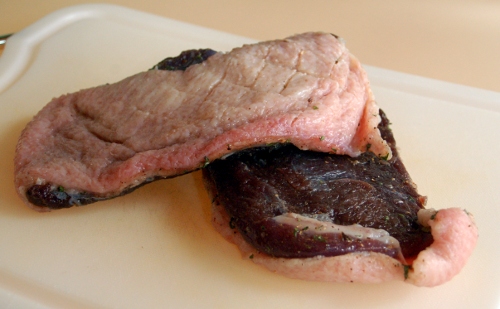
Remove the breasts. Wash and carefully dry them. I got the idea to use mugwort rather late (it’s traditional on goose in Germany), so instead of adding it to the brine, I rubbed the mugwort into the skin before wrapping up the breasts for drying.
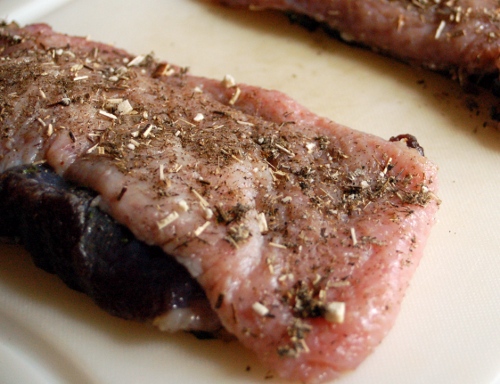
The mugwort rub was a late inspiration. Mugwort is mildly antiseptic, and very traditional in conjunction with goose. The scent is a bit sage and a bit tarragon to my nose.
Wrap them in muslin (I couldn’t find mine, so I used a clean, relatively thin tea towel), and hang in a cellar or similar cool, moderately humid spot for 5 days, so they can dry.
Once dried, cold smoke over hazelnut wood smoke for 1 to 2 hours. Make sure the temperature while smoking doesn’t exceed about 80°C, since otherwise you’ll lose the nice fat under the skin of the goose breast.
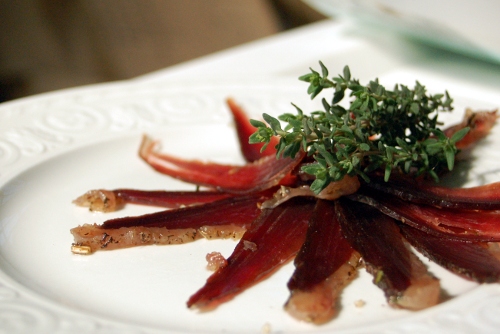
Slice thinly to serve. We’ll have it as tapas or in salad.
© 2011, Converting a Church. All rights reserved.



2 comments
Andrés Villaveces says:
April 24, 2011 at 18:12 (UTC 1 )
I will have to taste cured hazelnut-smoked goose breast some day! Impossible not to, after seeing the pictures and reading the post.
TheHighPriestess says:
May 3, 2011 at 12:42 (UTC 1 )
Thanks Andres! And yes, I do hope you’ll stop by